By NORMA Group


Home Drainage Center
1
Identify the Problem
2
Possible Solution
3
Installation / Where to Buy
Installation / Where to Buy
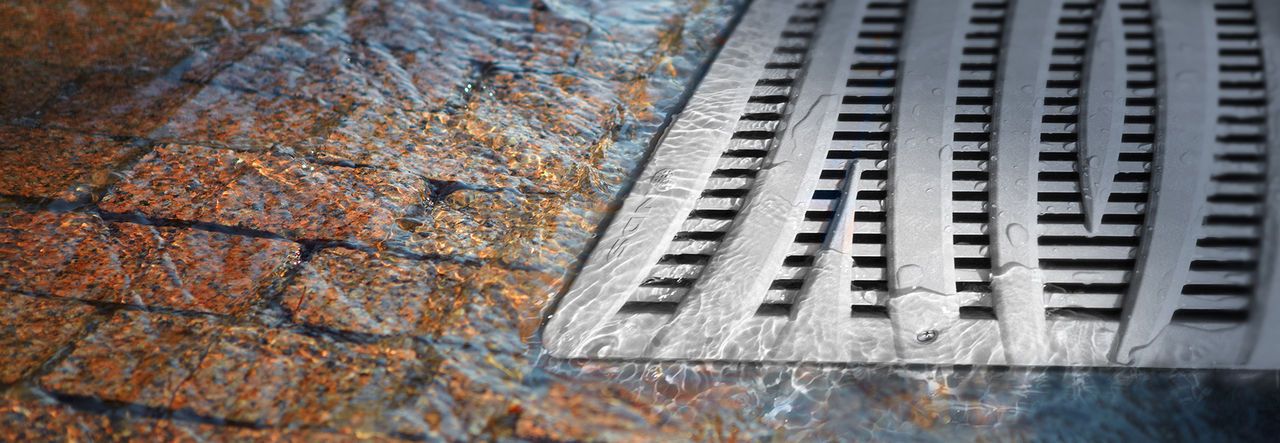
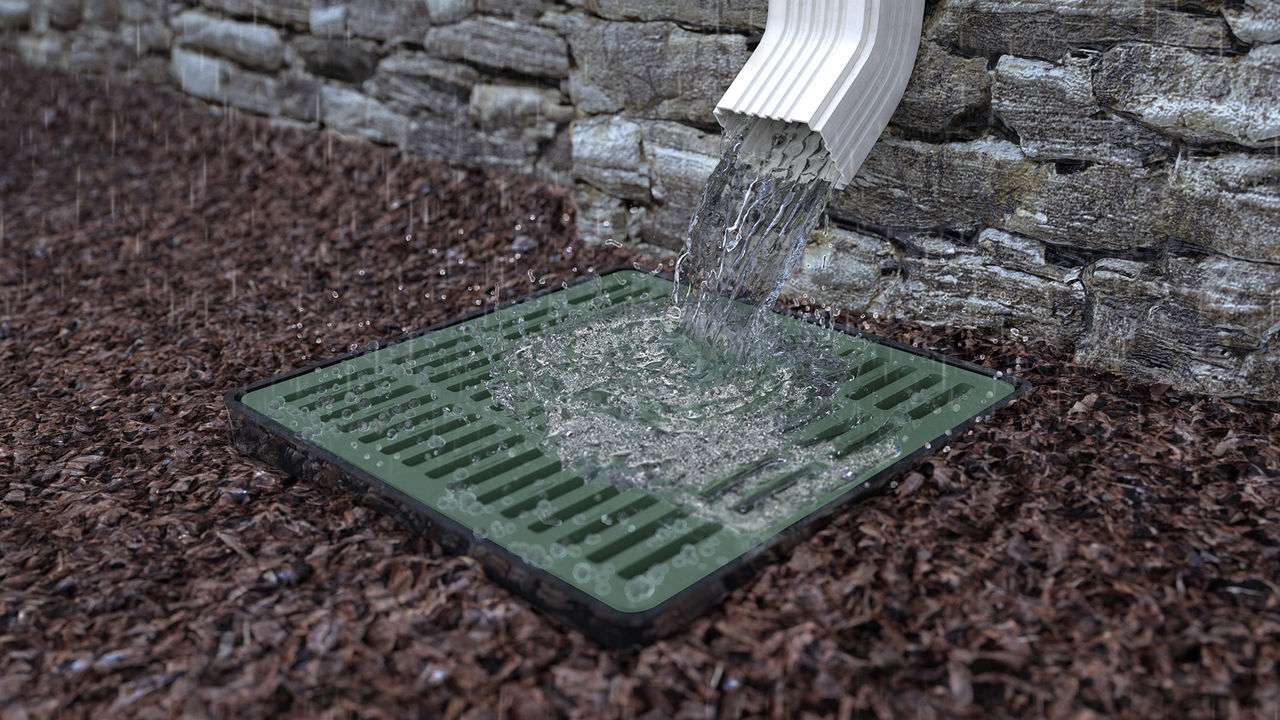
Water on Driveway (Medium): Installation Instructions
- Dig holes and trench for drain pipe, 3 in. Pro Series Channel Drain, and Flo-Well.
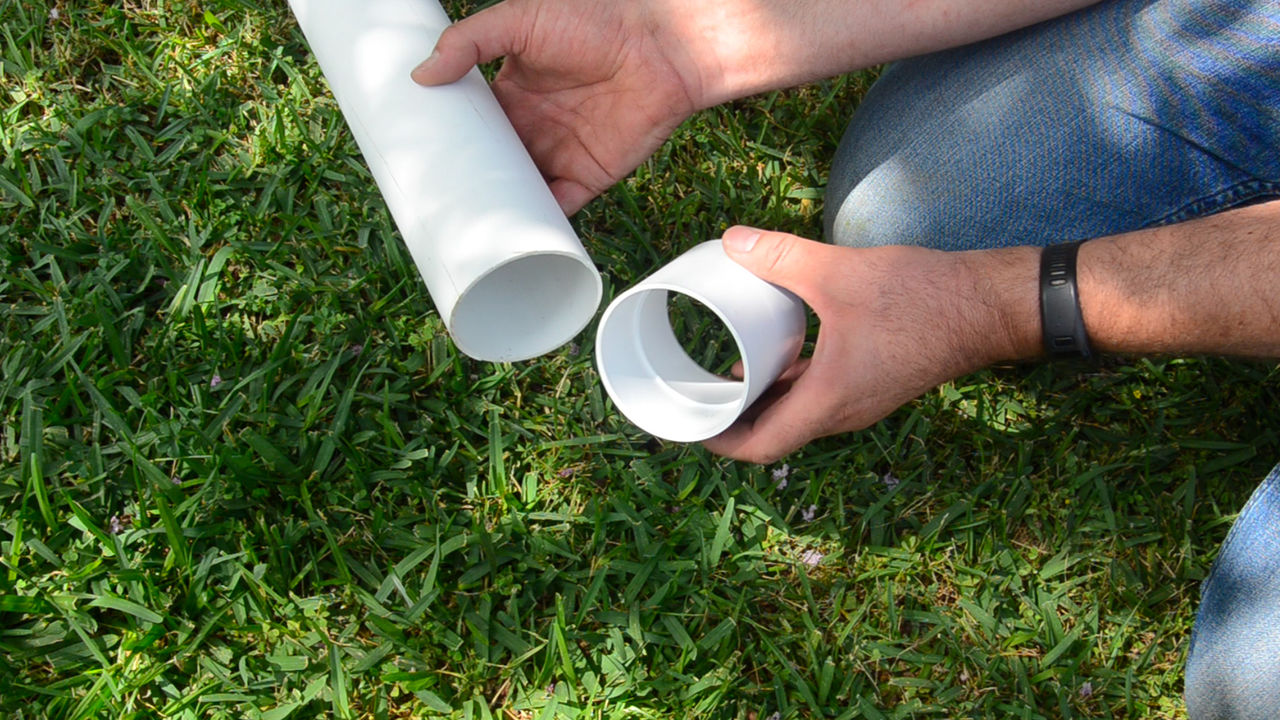
- Dry fit (no glue) the entire drainage system from the 3 in. Pro Series Channel Drain to the pop-up emitter. The Flo-Well should be installed at least 10’ away from any existing structure.
- Measure and cut all pipe to necessary lengths.
- After completing each step, glue parts together if a water tight connection is required.
TIP: If installing the drain in an existing concrete area, a wet concrete saw will be required to cut the concrete prior to installation.

- A minimum of 4-inches of concrete should surround the channel where vehicular traffic will pass over the channel. Additional concrete and stronger grates are required for heavier loads.
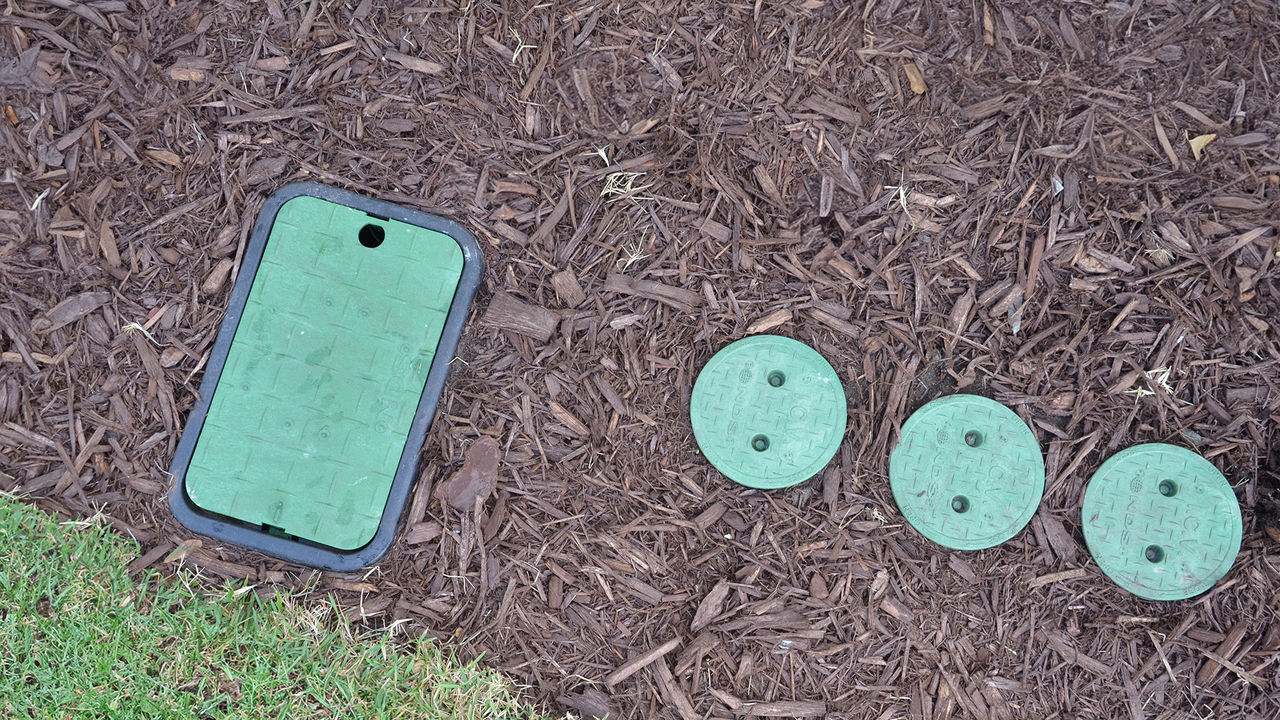
- Please follow installation instructions included with the channel when installing the channel drain. The 3” Pro Series Channel Drain should be installed a minimum of 1/4” below the finished grade of the surrounding surface.
- Connect the required number of channel sections together using interlocking end connections.
- Place the grates on the channel and screw in place.
- Install end caps at the end of the runs as needed.

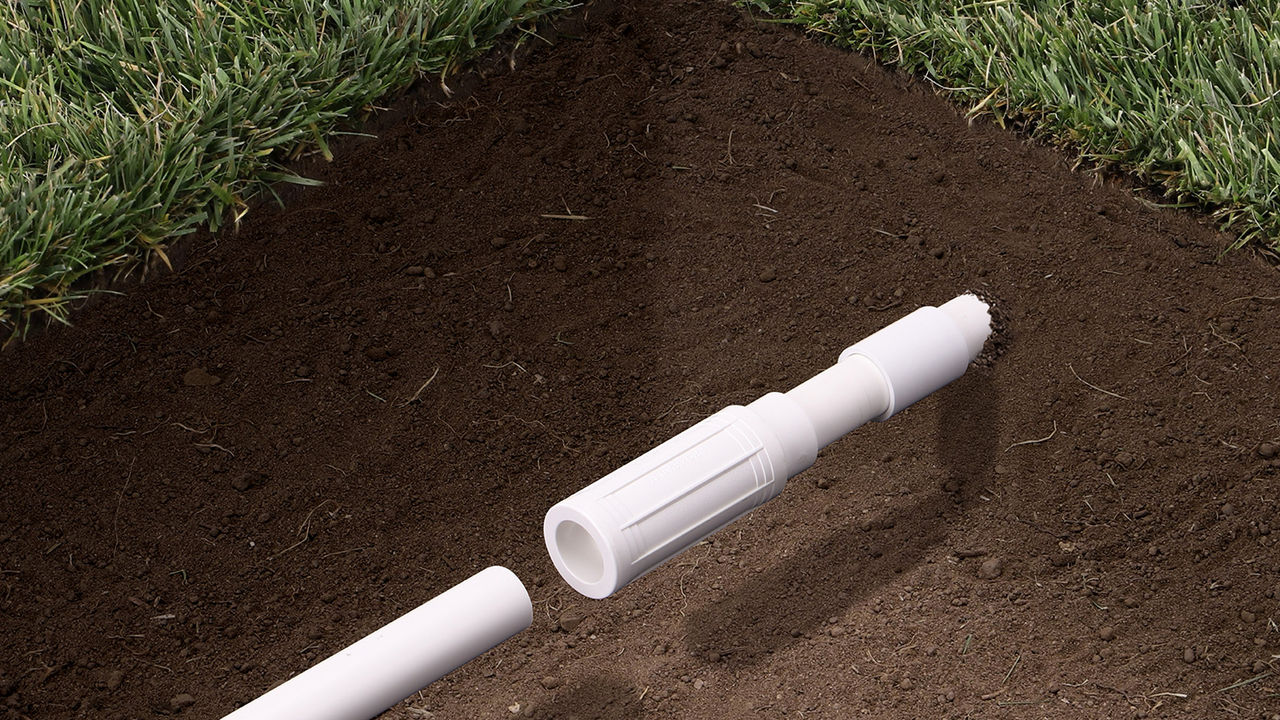
- Determine the way in which the channel drain will be drained (either via an End Outlet or Bottom Drain) and connect the appropriate drain pipe.
- Glue and connect elbows as needed.
- Continue drain pipe in direction of where the Flo-Well will be installed.

- Run drain pipe from the 3 in Pro Series Channel Drain to the Flo-Well.
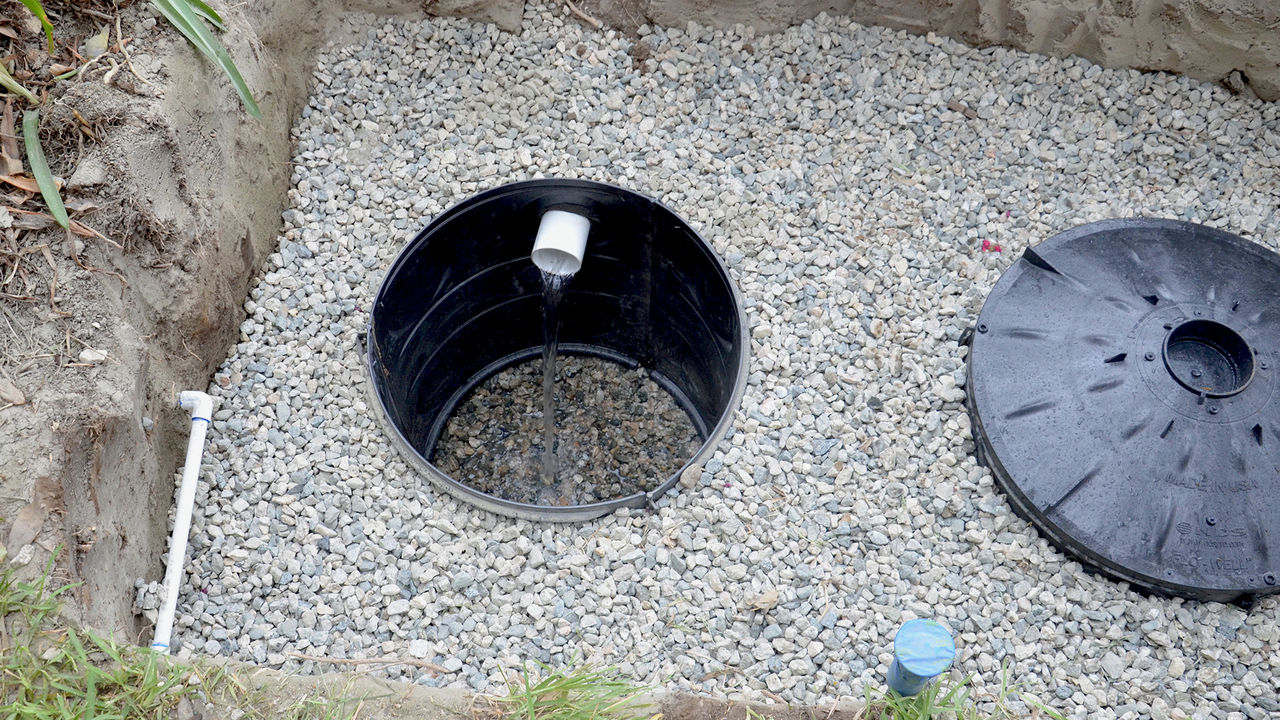
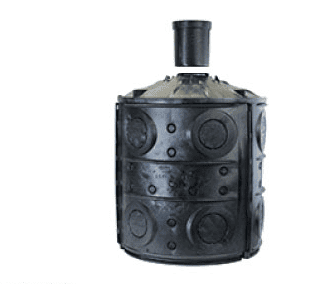
- Knock out the appropriate holes in the side panels of the Flo-Well where the drain pipe will enter and exit.
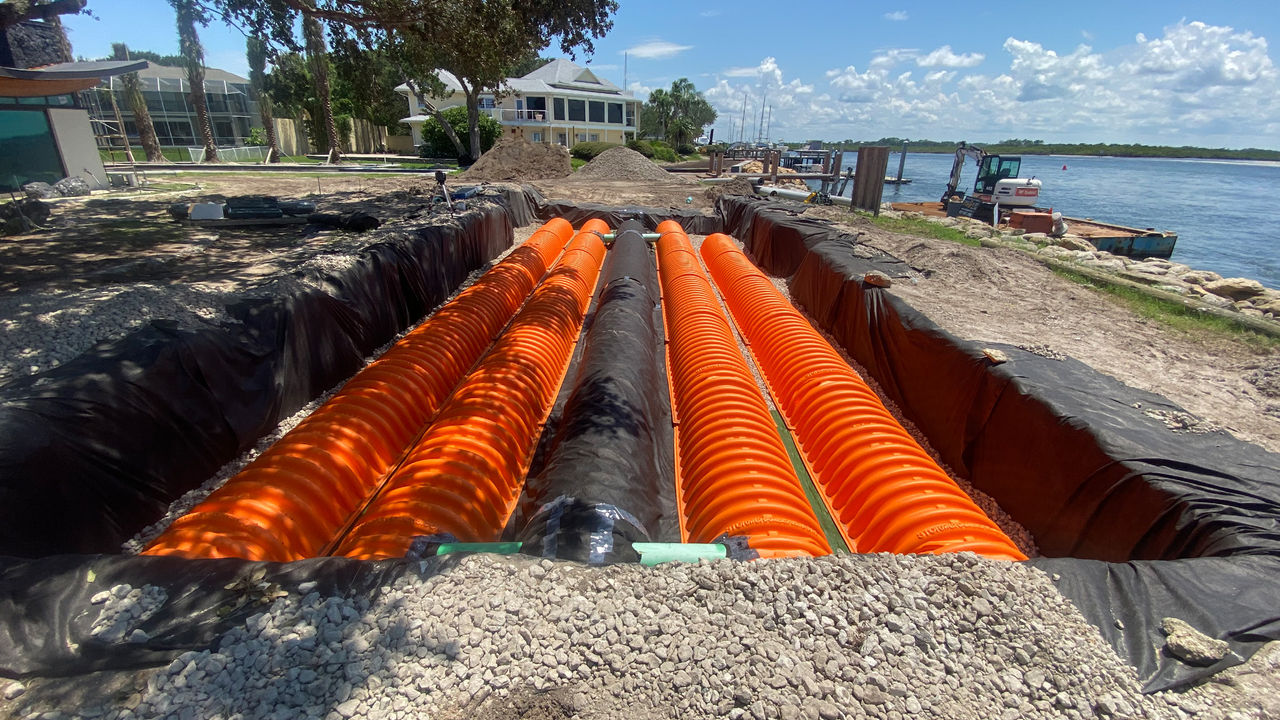
- Assemble the Flo-Well using the interlocking side panels.
- Slide the Drain Pipe through the holes in the Flo-Well side panels.
TIP: Lay the Flo-Well panels on bricks or other hard surfaces and use a hammer to knock out the holes in the side panels.
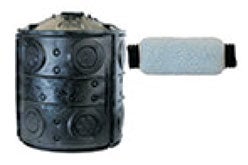
- Knock out the center hole of the Flo-Well lid.
- Place the lid on the Flo-Well side panels then place the Flo-Well Surface Inlet onto the Flo-Well lid.
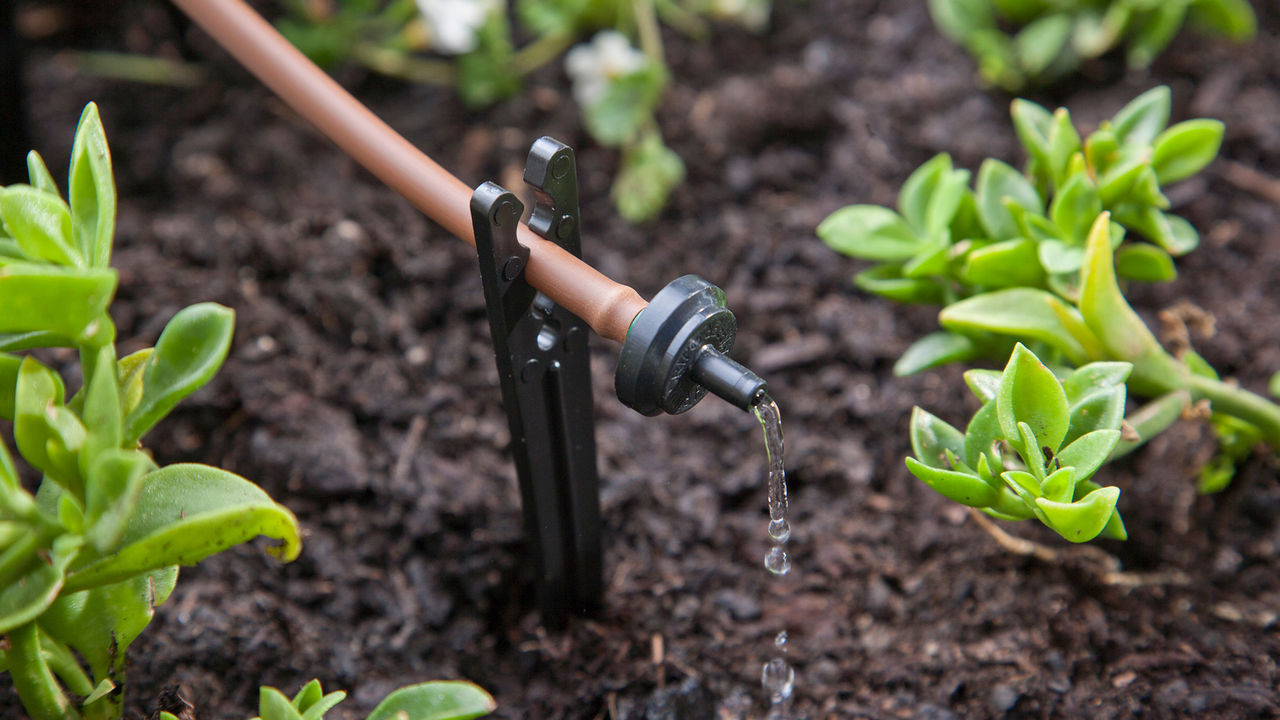
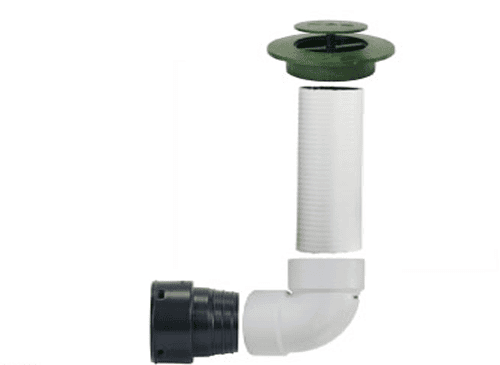
- Connect the drain pipe to an elbow with a weep hole. The elbow should be installed with the weep hole on the horizontal side of the elbow.
- Slide the Pop-up Emitter onto the elbow. An additional length of pipe can be used to bring Pop-up emitter to the surface.
TIP: To avoid damaging your Pop-Up Emitter with your lawn mower, raise the cutting level of the blades or avoid passing the mower over the Pop-Up Emitter.
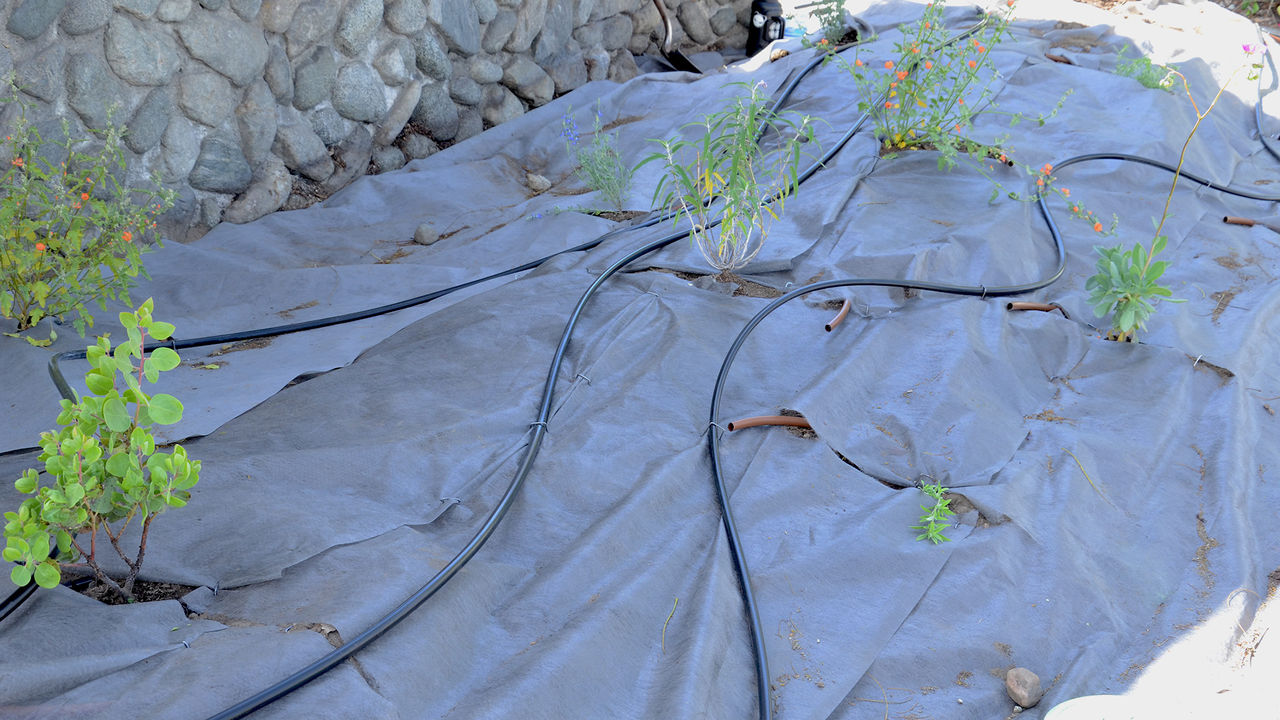
- Backfill and replace any grass or plants that were removed.
TIP: DO NOT BACKFILL WITH SOIL WITH HIGH CLAY CONTENT.
Water must be able to easily pass through the backfilled soil.


