By NORMA Group


Home Drainage Center
1
Identify the Problem
2
Possible Solution
3
Installation / Where to Buy
Installation / Where to Buy
Downspout Runoff (Medium): Installation Instructions
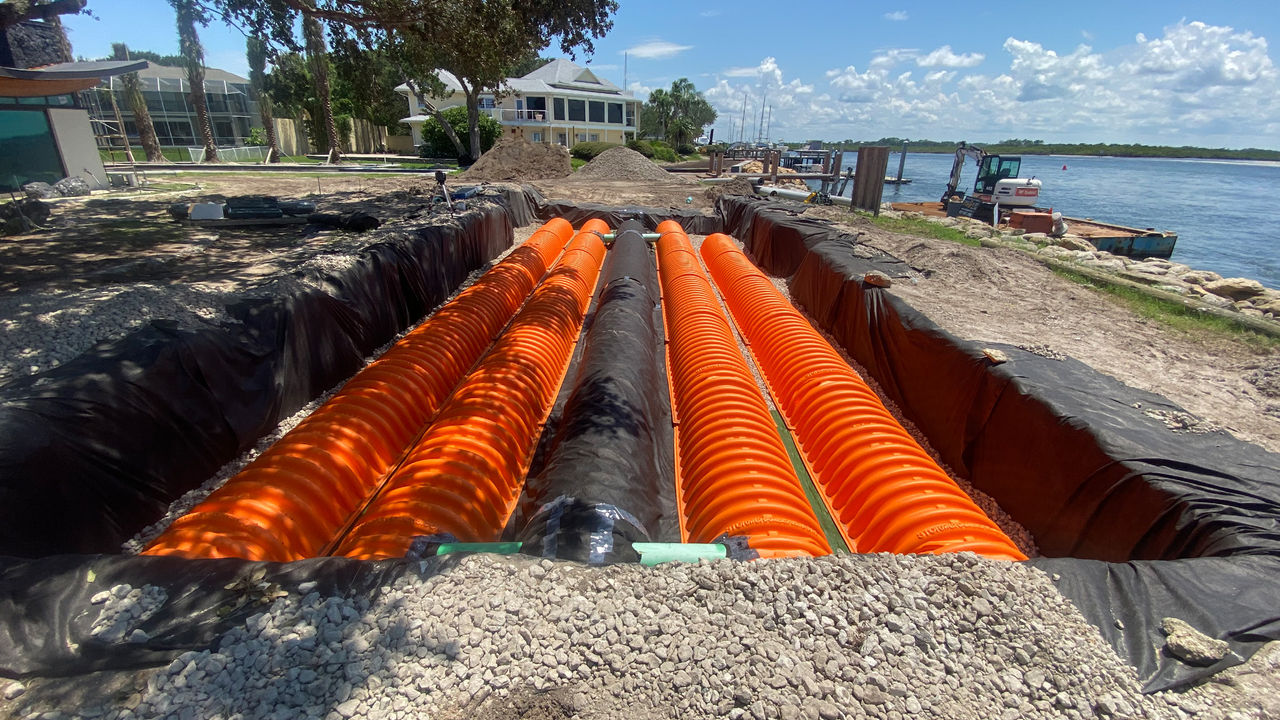
- Dig holes and trench for pipe, catch basin and Flo-Well.
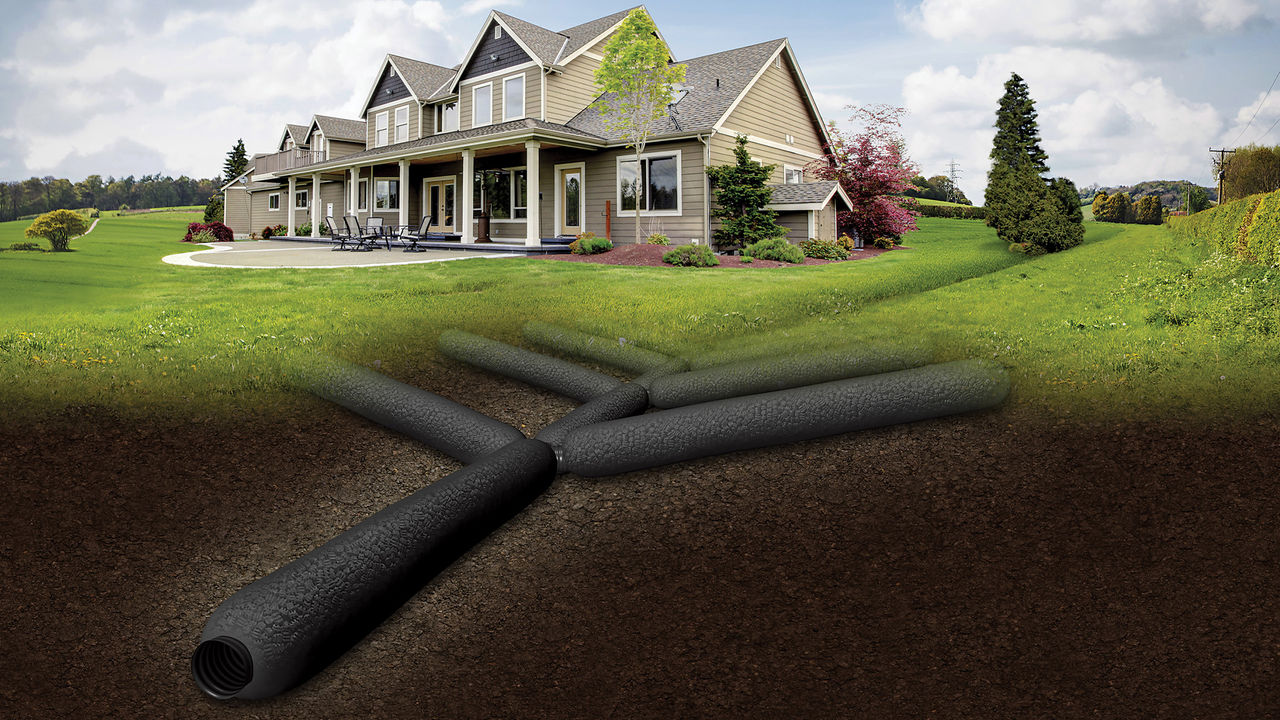
- Dry fit (no glue) the entire drainage system from the catch basin to the pop-up emitter. The Flo-Well should be installed at least 10’ away from any existing structure.
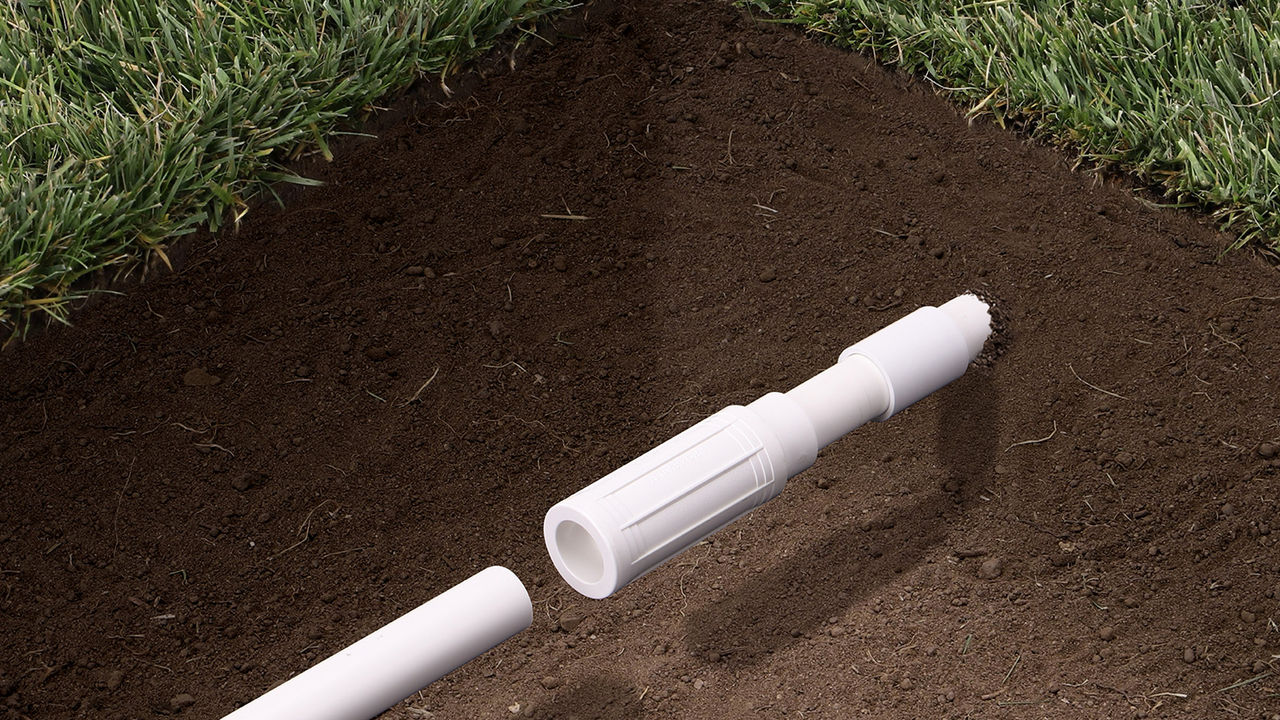
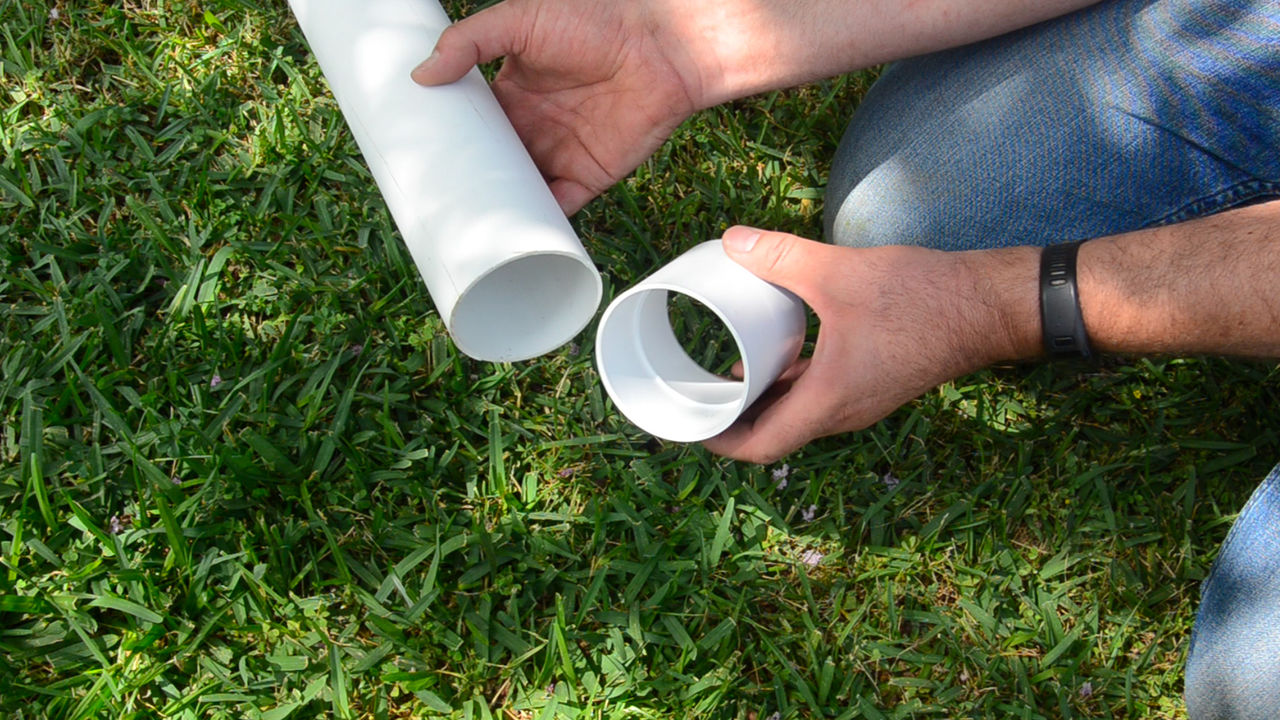
- Measure and cut all pipe to necessary lengths.
- After completing each step, glue parts together if a watertight connection is required.
TIP: If installing the drain in an existing concrete area, a wet concrete saw will be required to cut the concrete prior to installation.

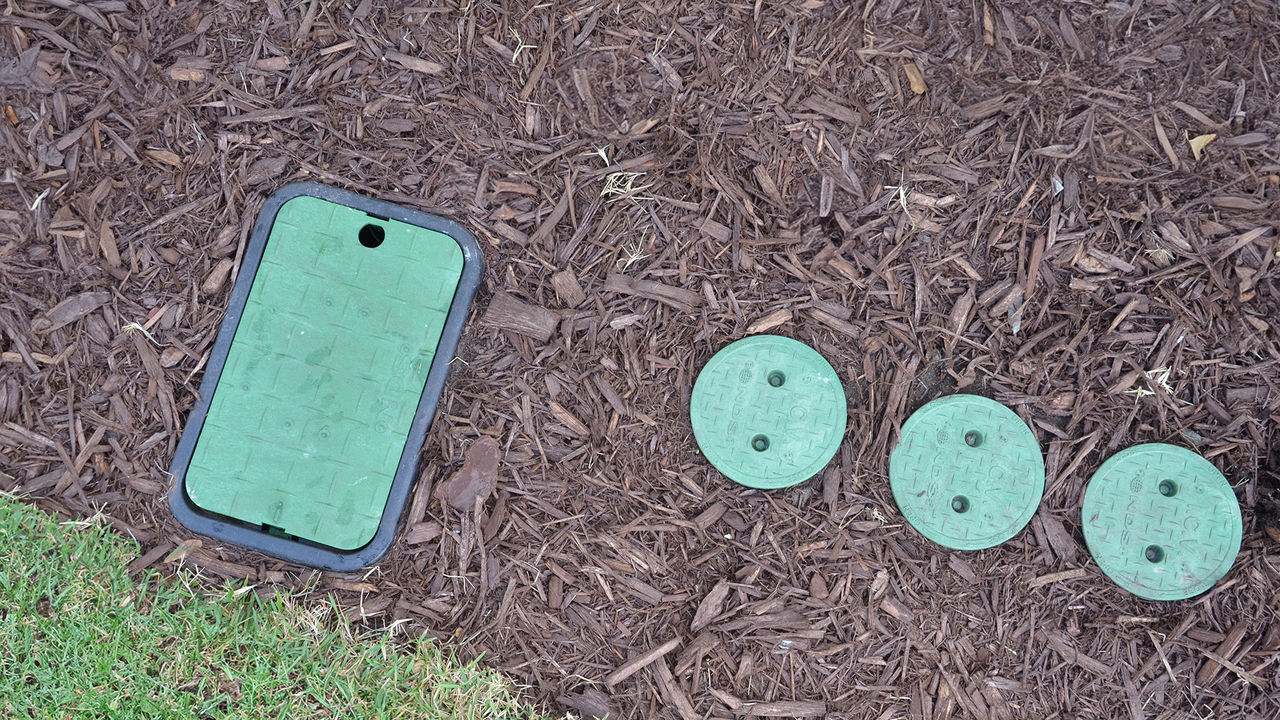
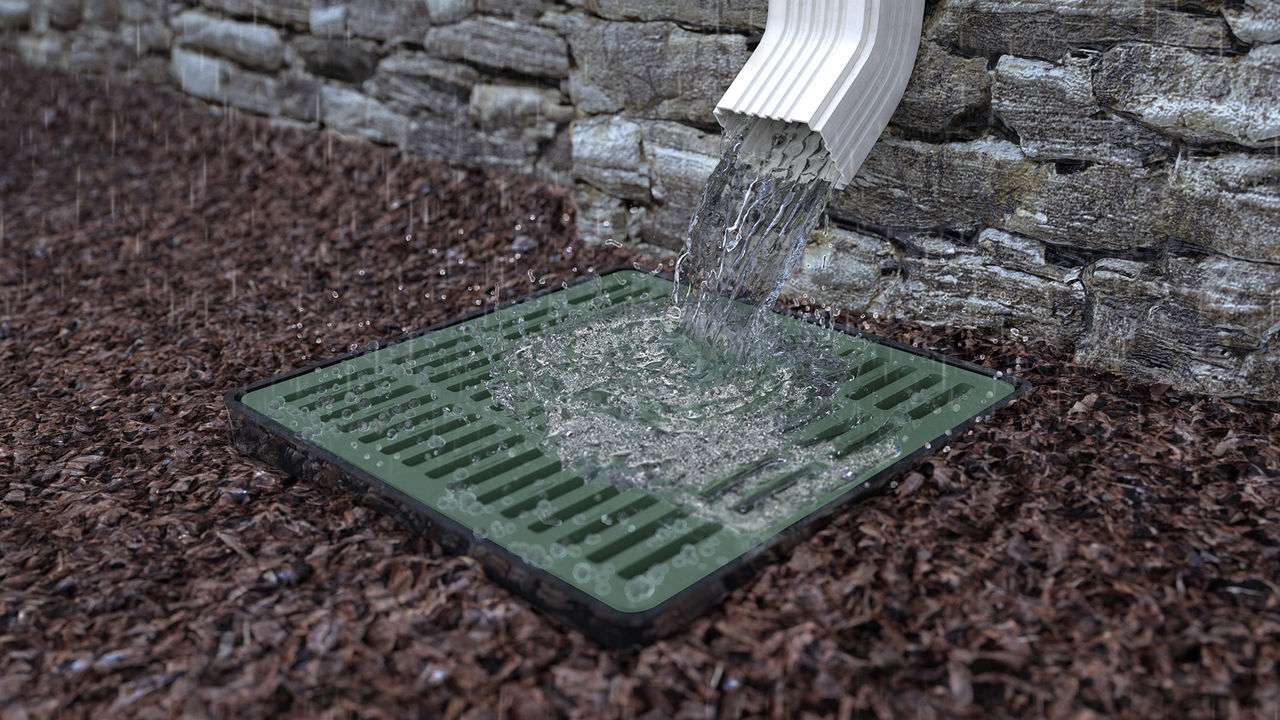
- Before beginning your installation, check if your downspout has a downspout elbow connected. If not, connect a downspout elbow to your downspout. If needed, connect the Catch Basin Universal Outlets to the Catch Basin by inserting the Outlet into the Catch Basin and twisting to lock in place. One of the outlets should have a plug. This plug must be inserted into the outlet that will not have a drain pipe connected. The Catch Basin can be used to clean out any debris that may enter the system and also serves as an inlet for surface water. It should be installed in the ground directly beneath the downspout elbow to catch all water draining from the downspout.
- Place the downspout defender on the Catch Basin and screw in place.
- Connect the drain pipe to the Catch Basin using the Catch Basin Universal Outlet.
TIP: Dig the hole for the basin an additional 6” deeper than needed. Place 6” of gravel in the bottom of the hole. Drill small holes in the bottom of the basin to prevent standing water in the bottom of the basin, eliminating a potential mosquito breeding area.

- Run drain pipe from other end of Catch Basin to the Flo-Well.
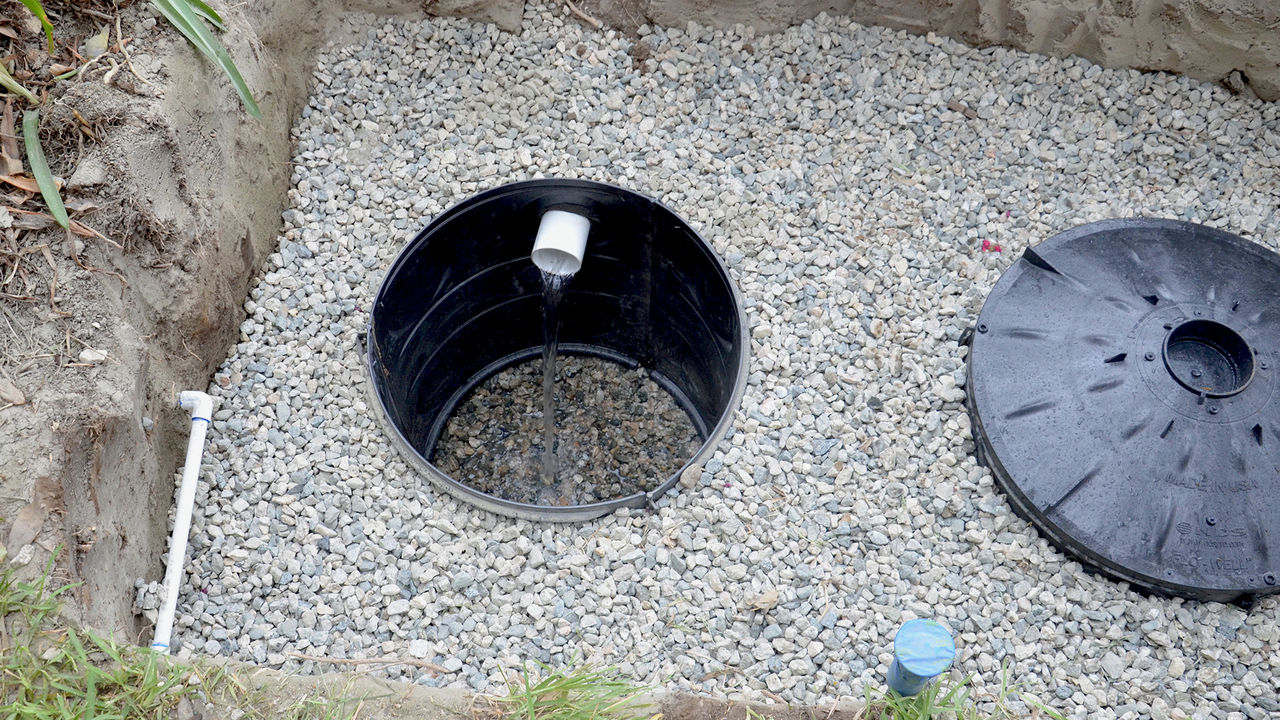
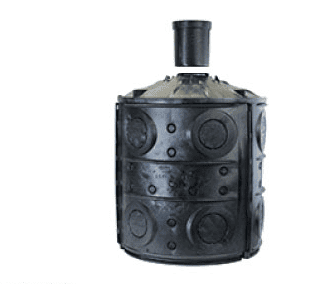
- Knock out the appropriate holes in the side panels of the Flo-Well where the drain pipe will be installed.
- Assemble the Flo-Well using the interlocking side panels.
- Slide the Drain Pipe through the holes in the Flo-Well side panels.
TIP: Lay the Flo-Well panels on bricks or other hard surfaces and use a hammer to knock out the holes in the side panels.
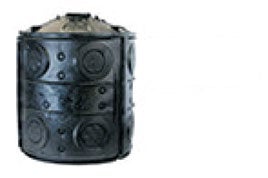
- Knock out the center hole of the Flo-Well lid.
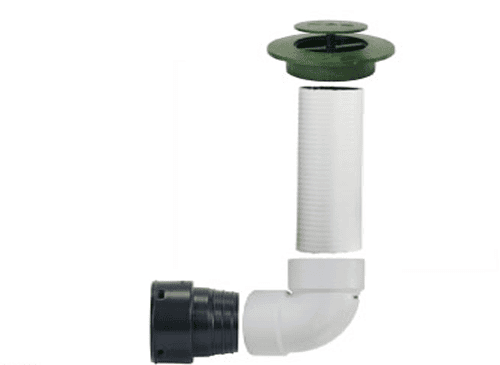
- Place the lid on the Flo-Well side panels then place the Flo-Well Surface Inlet onto the Flo-Well lid.
- Connect the drain pipe to an elbow with a weep hole. The elbow should be installed with the weep hole on the horizontal side of the elbow.
- Slide the Pop-up Emitter onto the elbow. An additional length of pipe can be used to bring Pop-up emitter to the surface.
TIP: To avoid damaging your Pop-Up Emitter with your lawn mower, raise the cutting level of the blades or avoid passing the mower over the Pop-Up Emitter.
- Backfill and replace any grass or plants that were removed.
TIP: DO NOT BACKFILL WITH SOIL WITH HIGH CLAY CONTENT.
Water must be able to easily pass through the backfilled soil.


